(December 2023)
INCOMPLETE PROJECT.
Inspired by Proper Printing’s Folding Printer Project, I was impressed by their innovative folding mechanism. However, I envisioned a different design that offered greater reliability and better accuracy after folding and unfolding for my Creality Ender 3 and Ender 3 Pro 3D Printers. My approach aims to reduce reliance on off-the-shelf components by incorporating more 3D-printed parts.
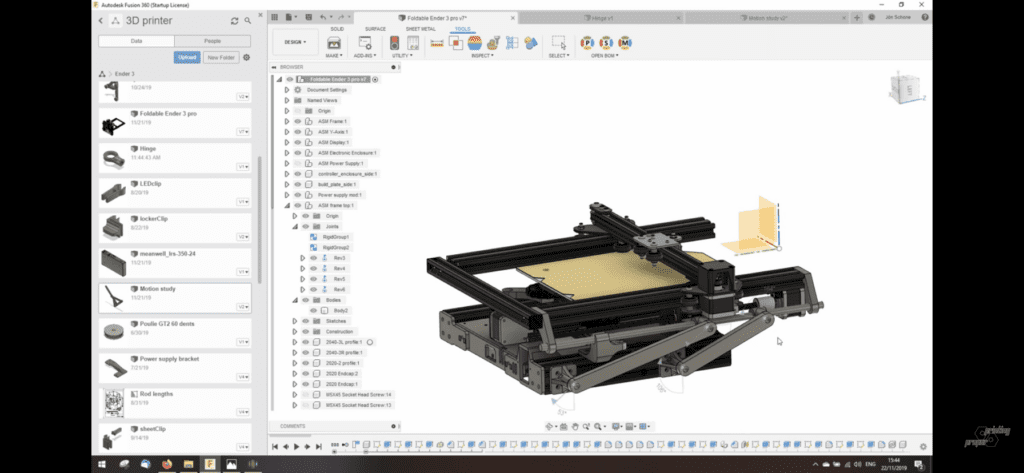
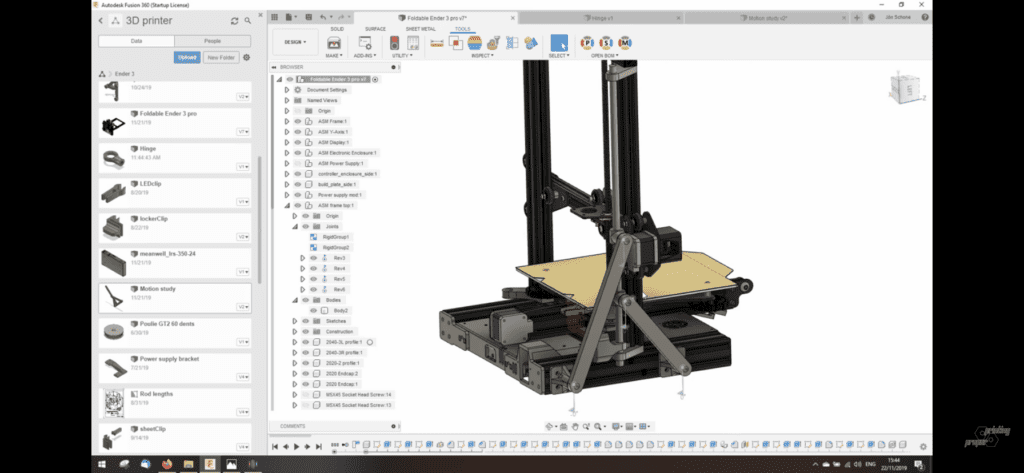
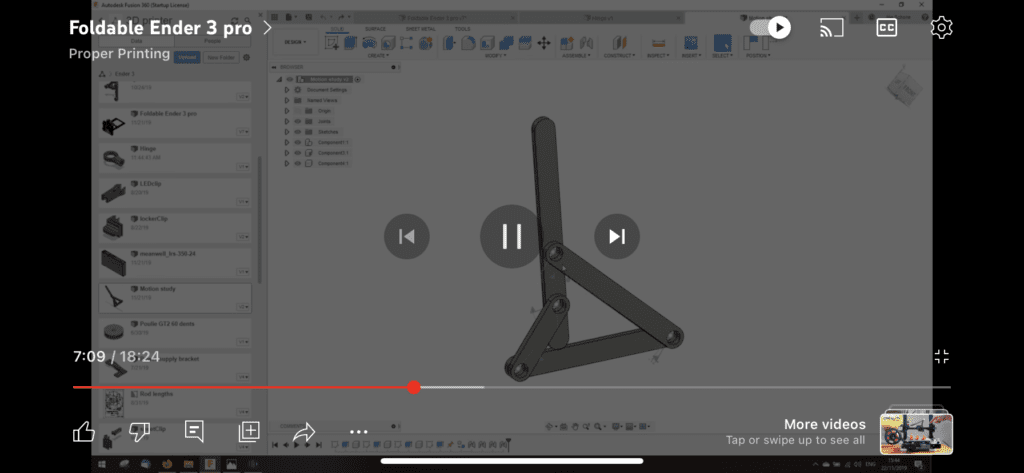
I used these video screenshots from Folding Ender 3 Pro to reverse-engineer their mechanism.
If you haven’t watched their YouTube video, please do so above!
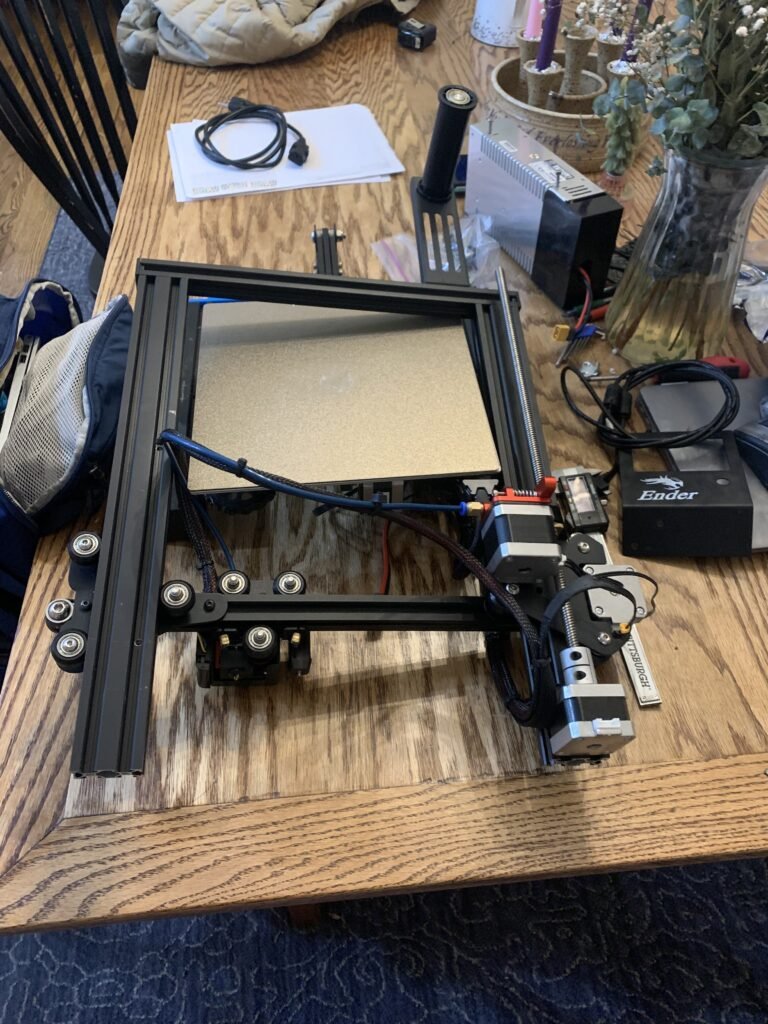
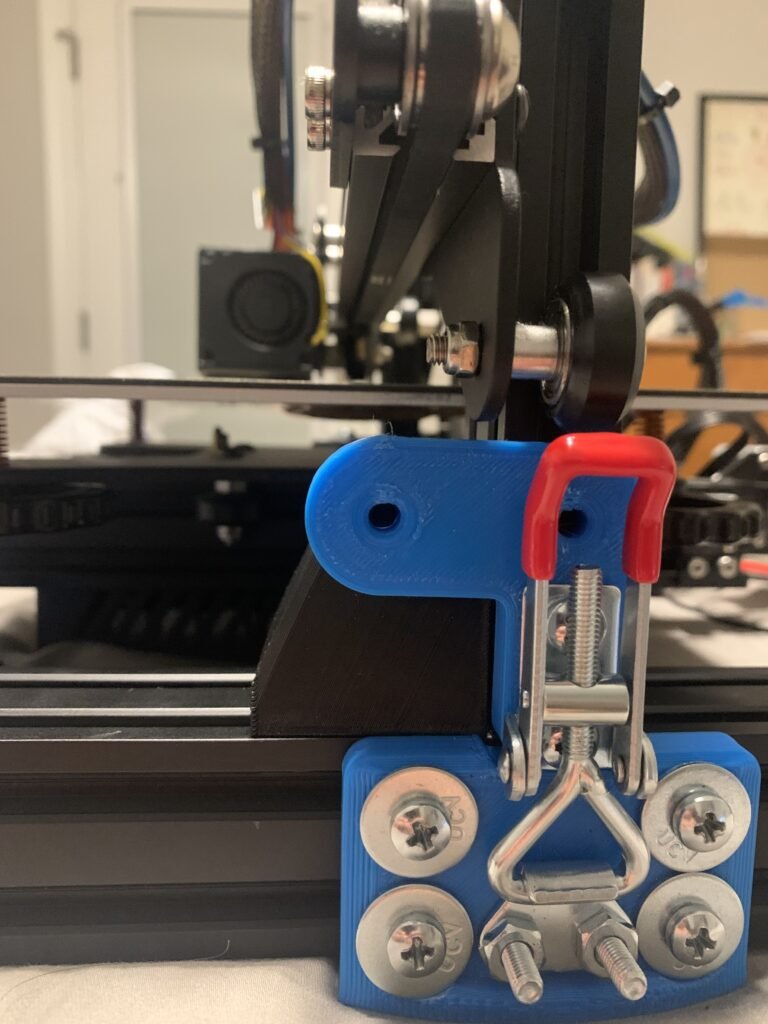
For my design, I opted for a toggle clamp to connect the top and bottom sections of the printer. This offered a secure and consistent method for locking and stowing the printer. As you can see, there is a black bracket (90 degree square corner piece) which serves as the hard stop and positioning component to ensure alignment every time.
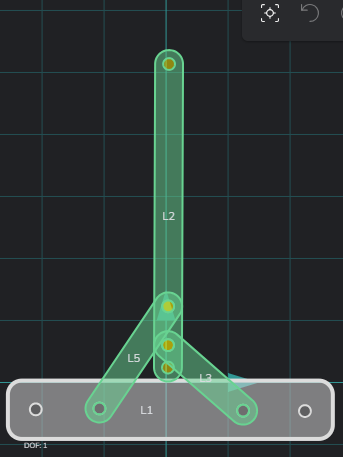
I used MotionGen.io to help visualize the linkage dynamics (motion) and relative sizes to each other. It helped create a

Two side brackets were made to attach the sections together. This solution offers a fast and highly secure method for aligning the two portions effectively.
This was a prototype of the folding mechanism. I added several holes on each side to experiment with the linkage attachment points to determine the best options. The t-slot hardware makes for easy sliding adjustments along the aluminum rail.
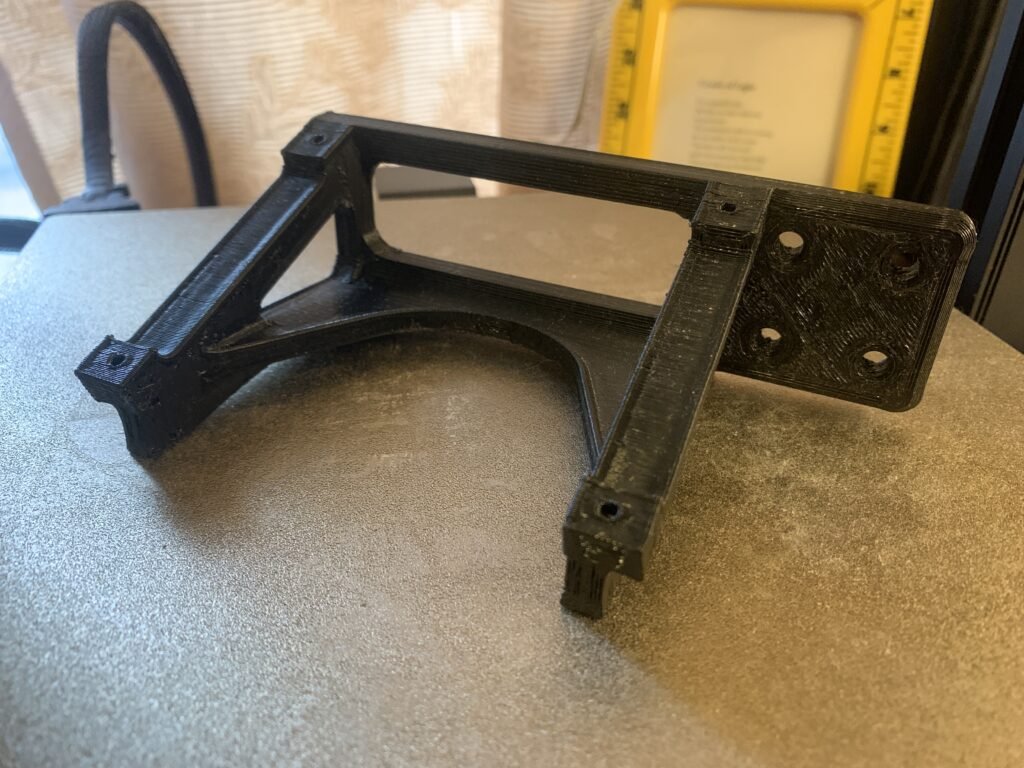
Along with the folding mechanism, I had to design and 3D print an LCD screen relocation bracket. This bracket placed the screen below the print bed, with enough clearance to adjust the print bed and not interfere with its movement.
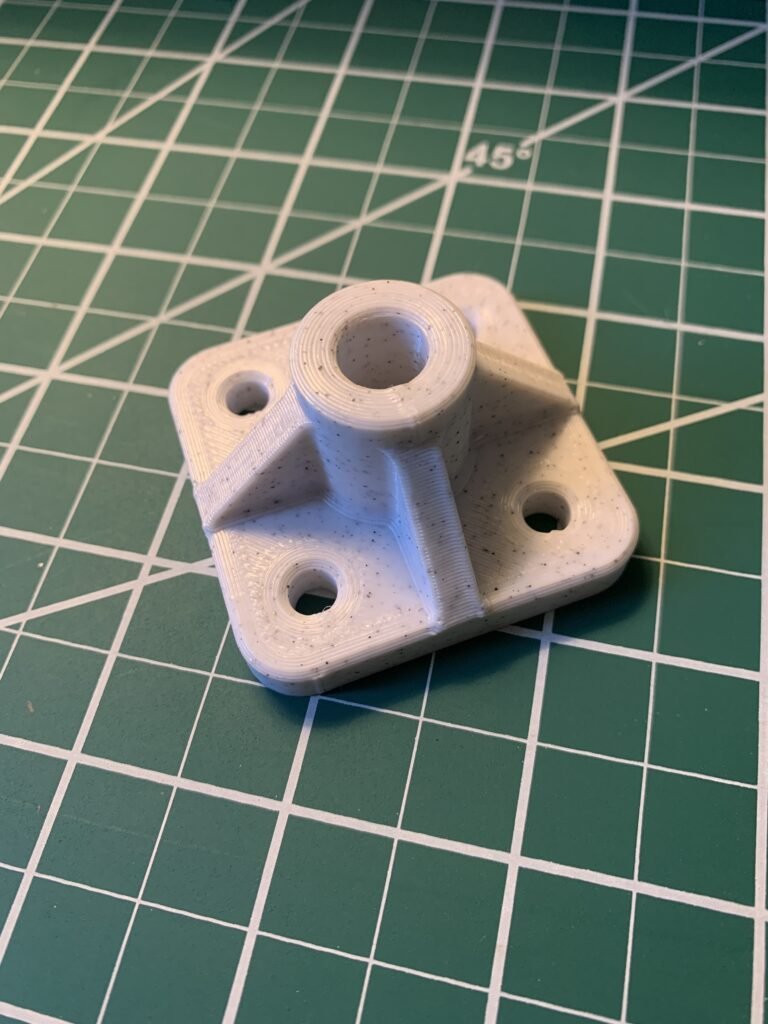
The plan is to use other side brackets (such as the one pictured below) with an embedded lock nut, to mount the linkages.
Since then, I have sold my Ender 3 printers, but once I acquire another, I plan to revisit and complete this build.
You can find the 3D printing files I am posting on my Cults3D page or my design services through Facebook or Etsy. Consider supporting my efforts. Thanks!

